How to verify OpenID Connect support on Identify
Introduction
Identify has supported the samples to demonstrate the OpenId Connect login and logout flows
How to setup
Create a new client using Safewhere Admin
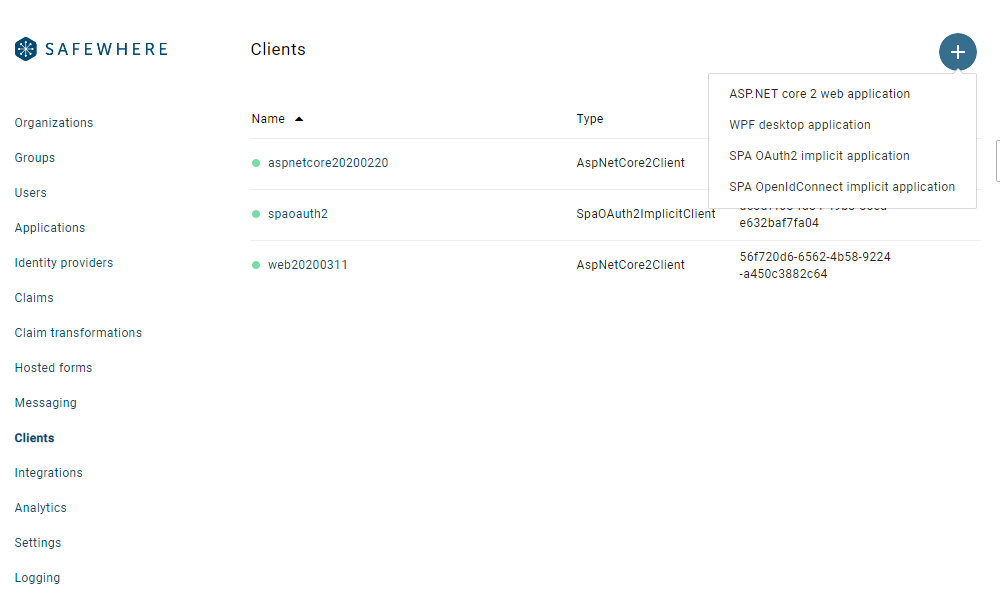
Step 1: login to the Safewhere Admin, access its Client list and create a client from the client samples:
- If you set up a web app that uses primarily server side, you can select ASP.NET core 2 web application
- If you set up a native app to authenticate a user as well as get a token that can access his or her data from a server service, you can select WPF dekstop application
- If you set up a SPA app (Single-Page App) that heavily relies on client side JavaScript code calling an API, you can select SPA OAuth2 implicit application or SPA OpenIDConnect implicit application
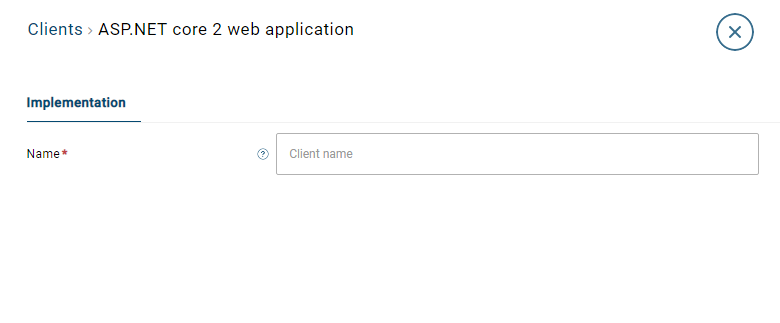
Step 2: input your new client name and click Save
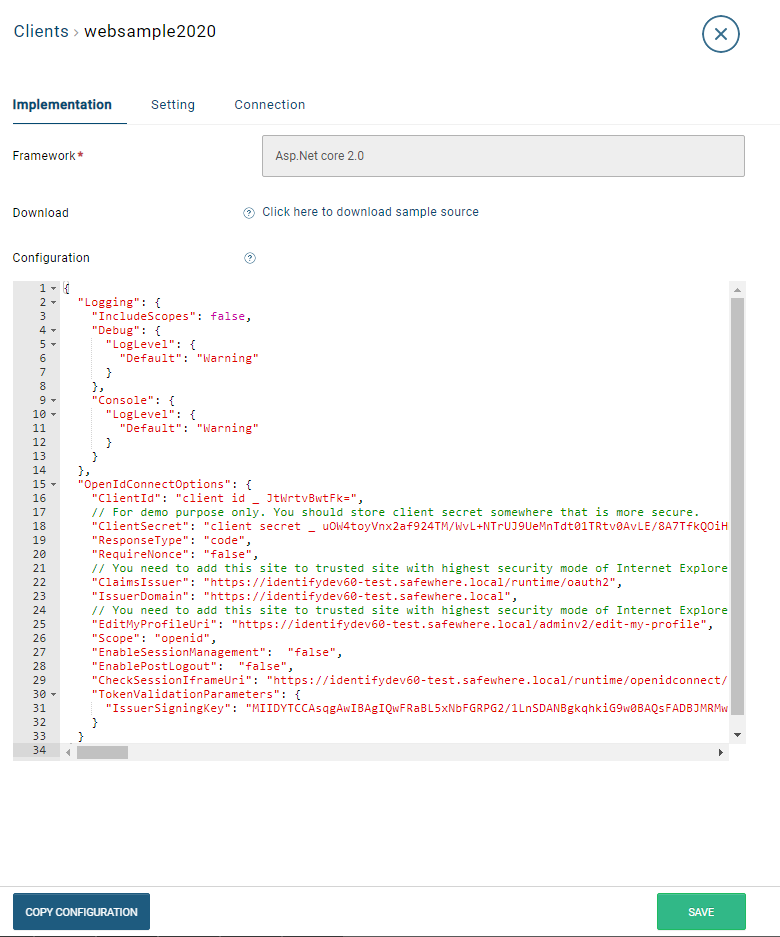
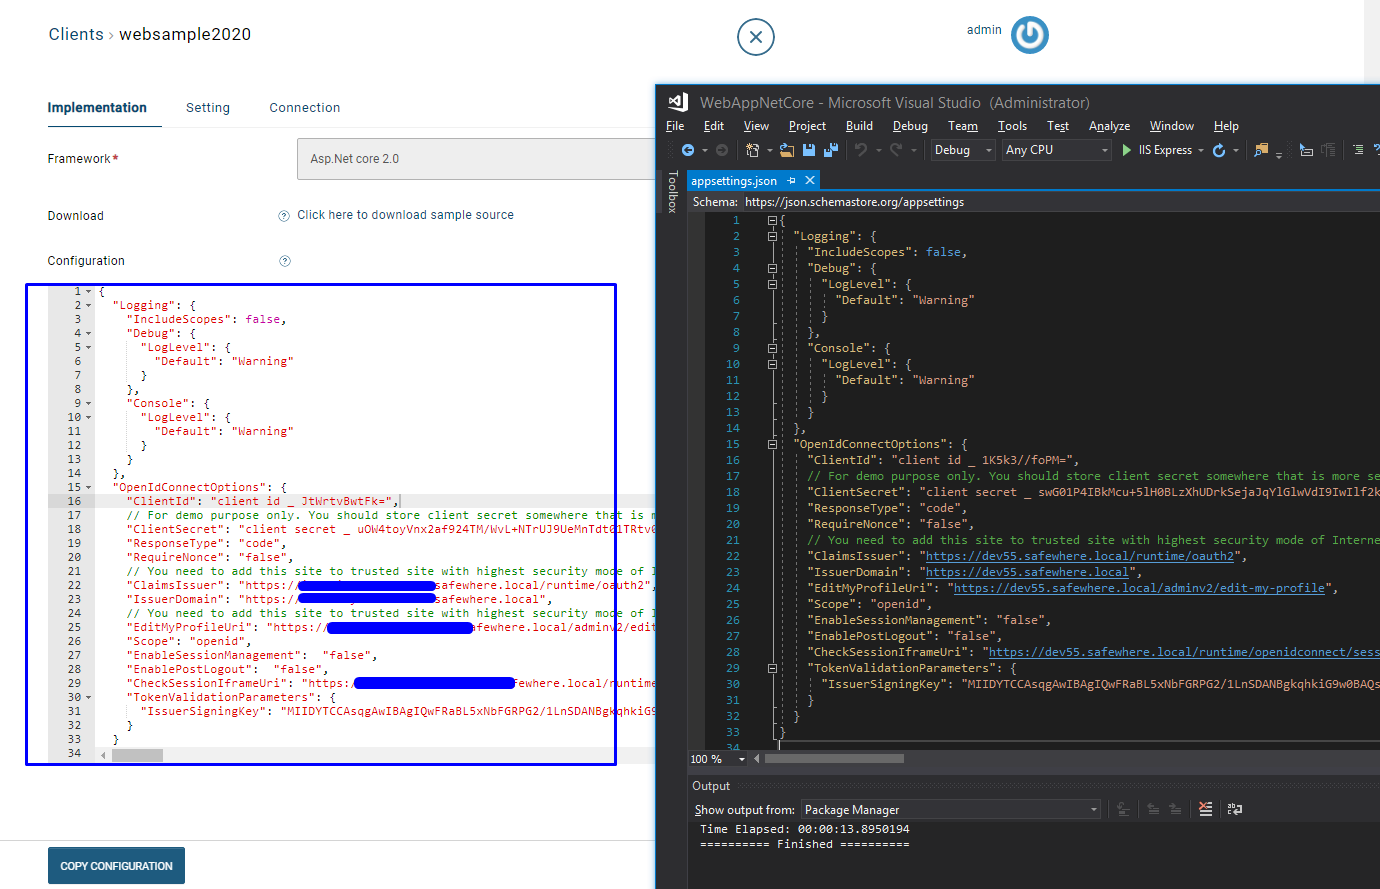
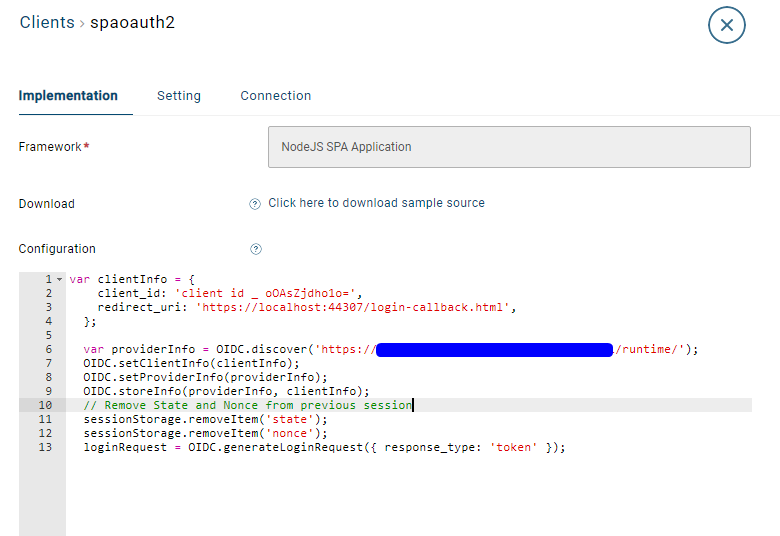
Step 3: after clicking "Save" button, the client configuration will be reloaded. You can click Copy button to copy its content.
Service provider setup
You can download the code sample by clicking the link "Click here to download sample source" at the "Implementation" tab of the created client
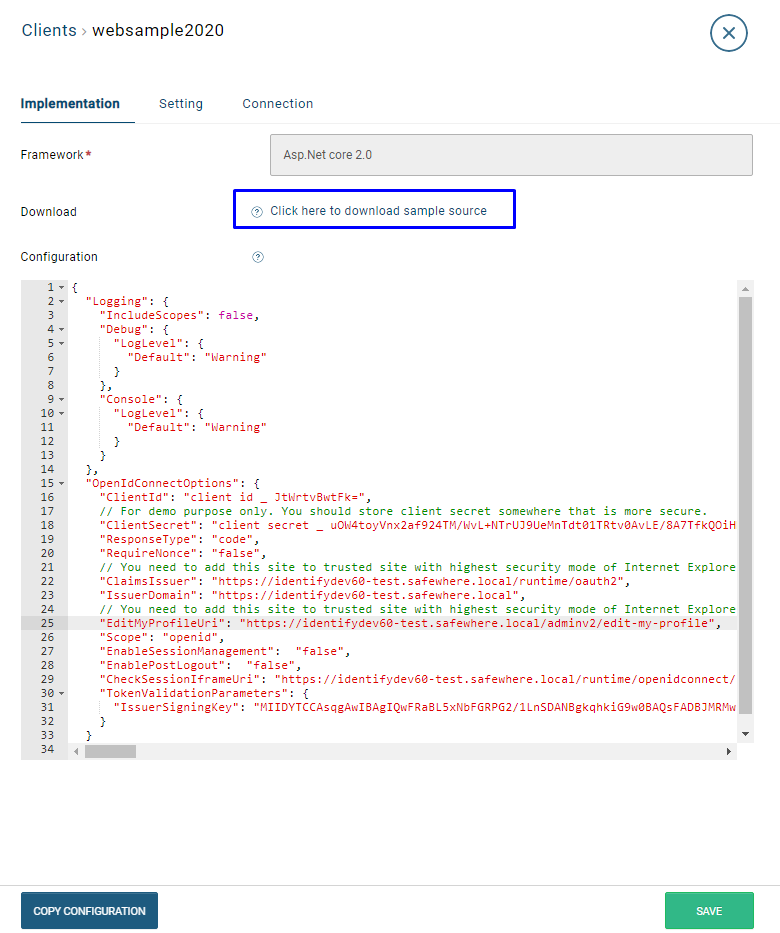
Then unzip the downloaded file to collect the code sample.
Depending on the client type you want to use, you need to access the approriate sample folder to execute the correct login flow to Identify
ASP.NET core 2 web application
The source can be found in src\CSharp\WebAppNetCore, following steps need to be done:
Step 1: Using Microsoft Visual Studio, open the WebAppNetCore.sln.
Step 2: open the file src\CSharp\WebAppNetCore\appsettings.json
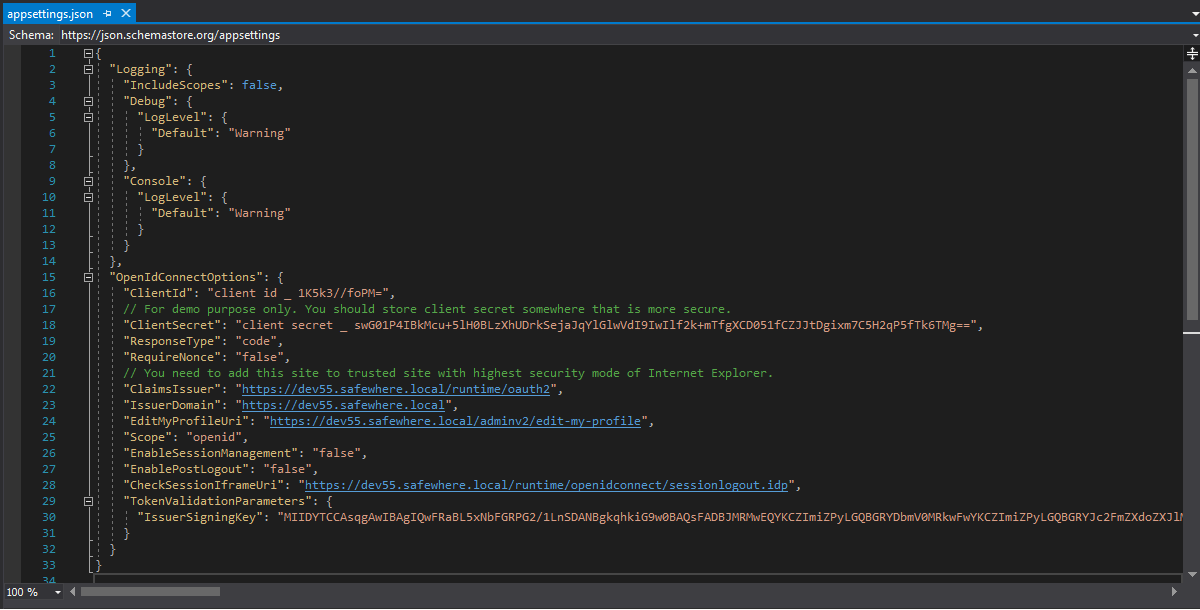
Step 3: replace its content by the configuration being copied from the client's configuration above
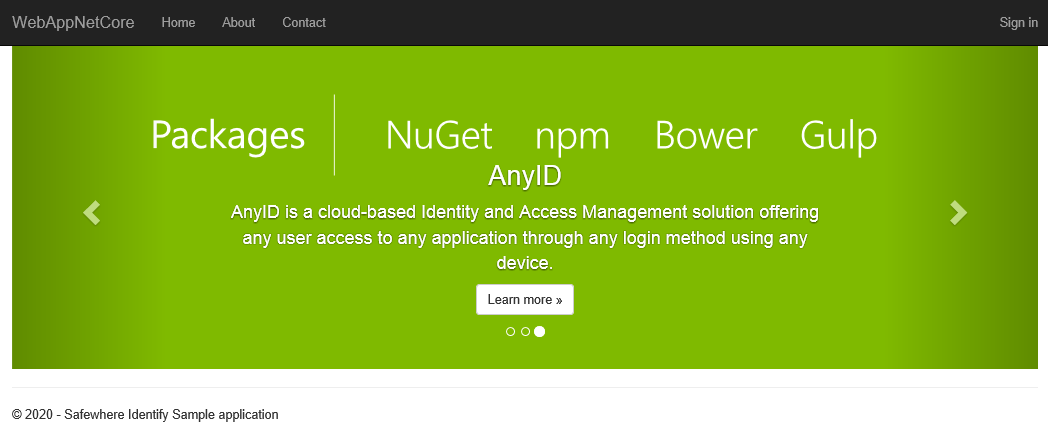
Step 4: build the solution and select "Sign in" link to start your login to Identify
The default login flow uses the OIDC code flow. You can customize some settings in its appsettings.json
| Setting key | Value |
|---|---|
| ResponseType | Default value is "code". You set its value to be "id_token" "id_token token" if you want to use implicit flow |
| RequireNonce | Default value is "false". You set its value to be "true" if you want to use implicit flow |
| Scope | Default value is "openid". You can add more customized scopes, e.g "openid profile" (you also add the scopes at Scope list of your application on Safewhere Admin) |
| EnableSessionManagement | Default value is "false". You set its value to be "true" if you verify the session management flow |
| EnablePostLogout | Default value is "false". You set its value to be "true" if you verify the logout using POST binding. Besides, you need to set the URI: "https://localhost:44307/Account/SignedOutCallback" at the "Allowed Logout URL" field when EnablePostLogout's value is True |
WPF dekstop application
The source can be found in src\CSharp\WpfDesktopApp, following steps need to be done:
Step 1: open the WpfDesktopApp.sln with Visual studio.
Step 2: open the file src\CSharp\WpfDesktopApp\App.config

Step 3: replace its content by the configuration being copied from the client's configuration above
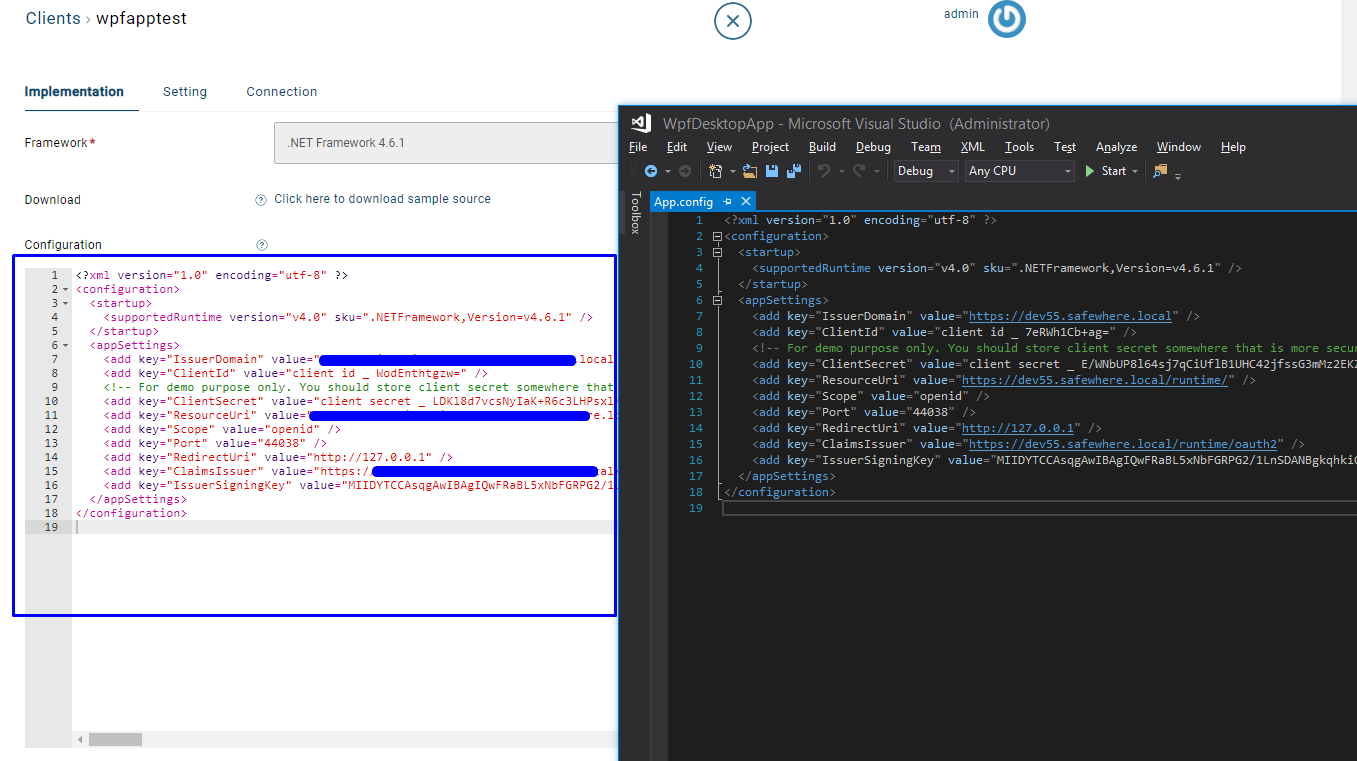
Step 4: build the solution and select "Sign in" link to start your login to Identify
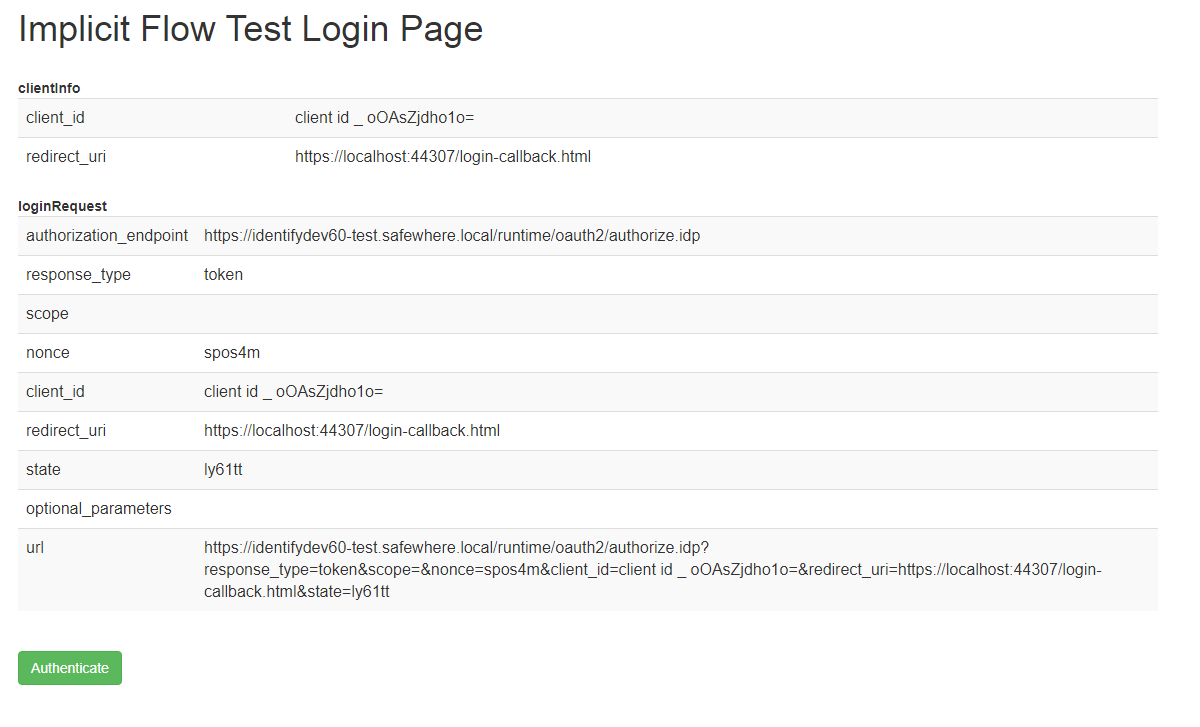
SPA OAuth2 implicit application
The source can be found in src\Javascript\oauth2-implicit-javascript, following steps need to be done:
Step 1: access the file src\Javascript\oauth2-implicit-javascript\config.js
Step 2: replace its content by the configuration being copied from the client's configuration above
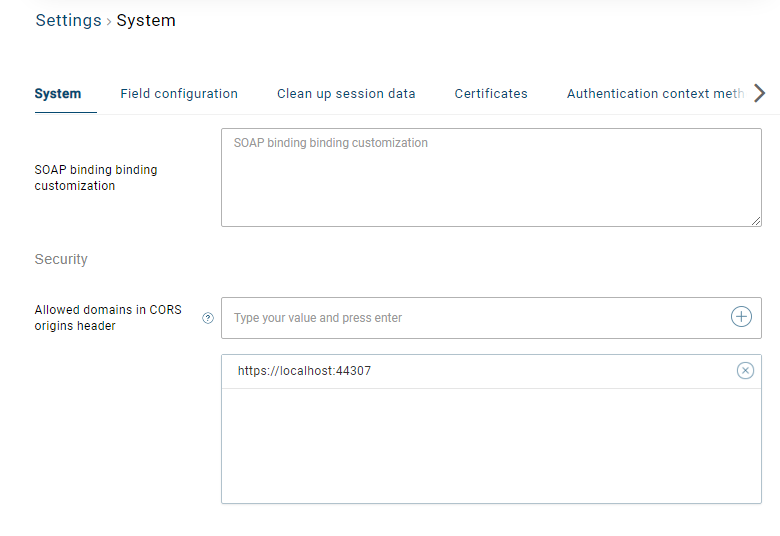
A noticiable point is that CORS support must be enabled in Safewhere Admin > Settings > System to enable cross-site requests between Identify and SPA sample. That means the SPA's address must be appended to value of setting "Allowed domains in CORS origins header".
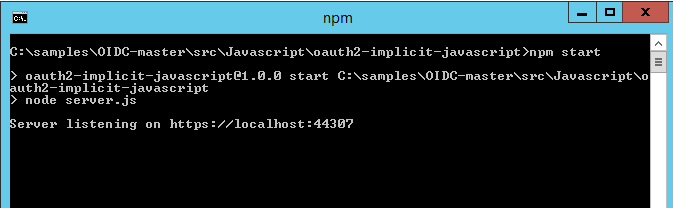
Step 3: if you are in NodeJS development environment, you could use built-in self hosting: open command promt and navigate to oauth2-implicit-javascript folder and type 'npm start' to start web server listening on https://localhost:44307.
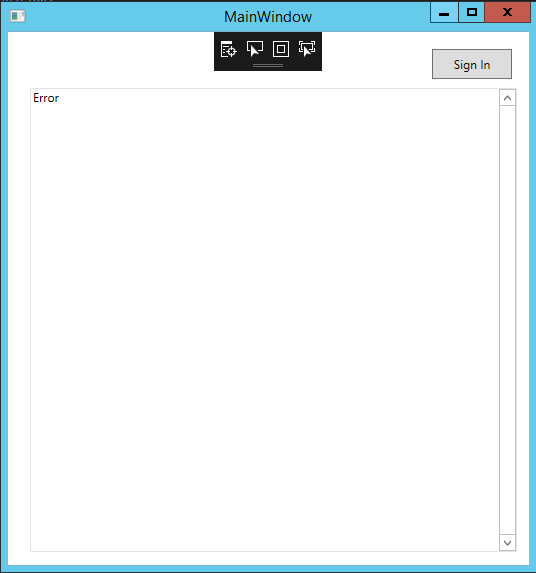
Step 4: open your browser then access site https://localhost:44307, select "Authenticate" button
You can shut down the web server manually by pressing Ctrl-C.
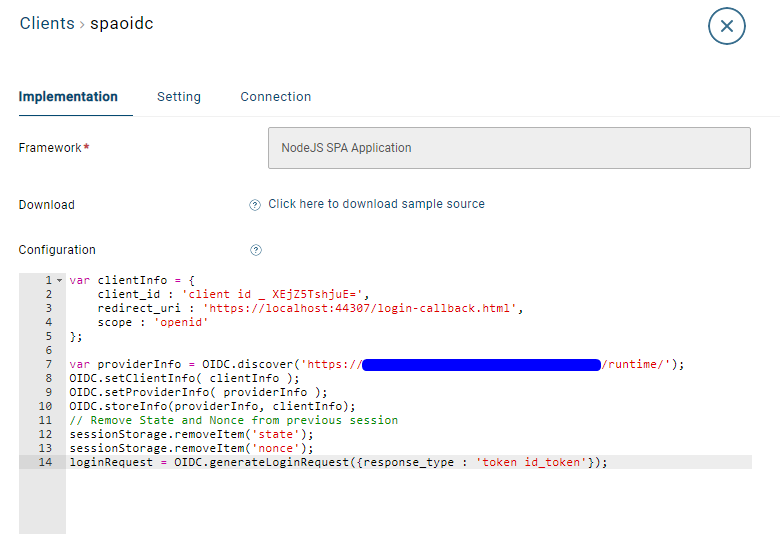
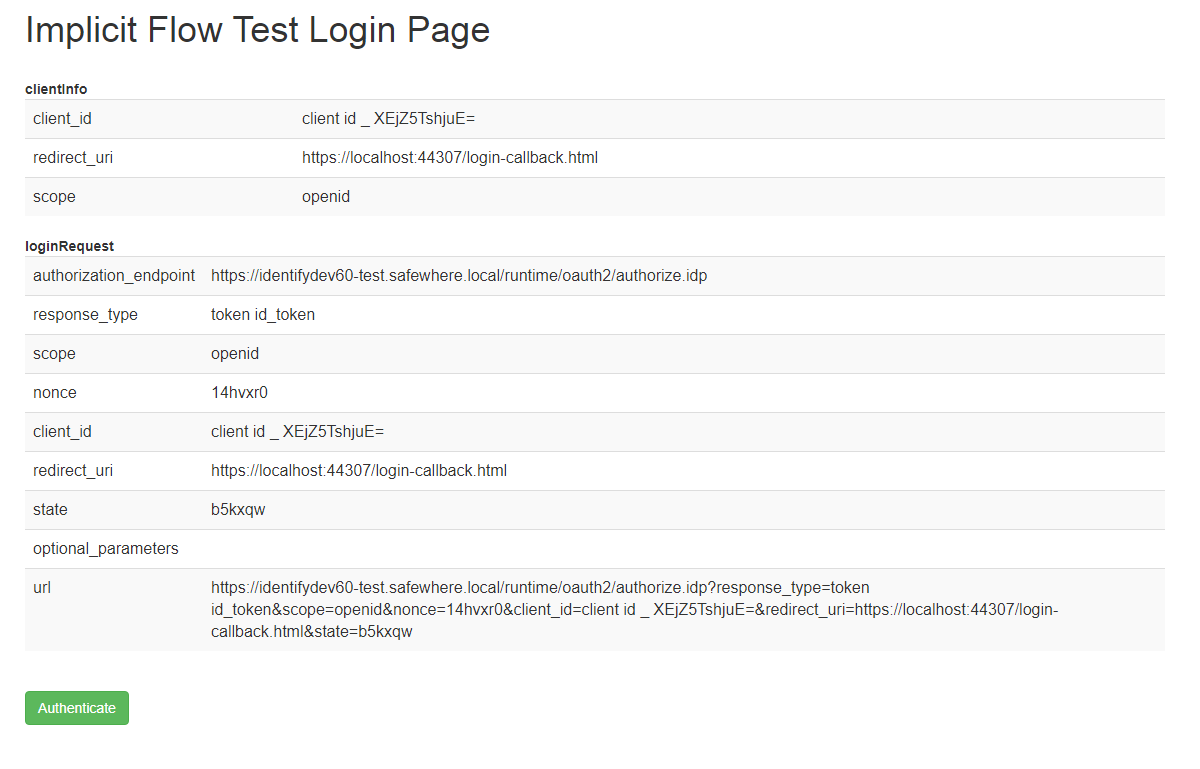
SPA OpenIDConnect implicit application
The source can be found in src\Javascript\oidc-implicit-javascript, following steps need to be done:
Step 1: access the file src\Javascript\oidc-implicit-javascript\config.js
Step 2: replace its content by the configuration being copied from the client's configuration above
A noticiable point is that CORS support must be enabled in Safewhere Admin > Settings > System to enable cross-site requests between Identify and SPA sample. That means the SPA's address must be appended to value of setting "Allowed domains in CORS origins header".
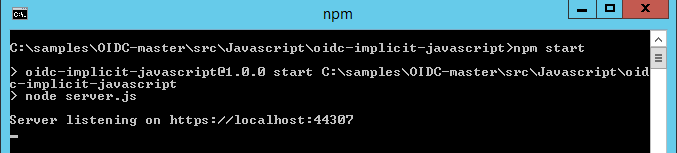
Step 3: if you are in NodeJS development environment, you could use built-in self hosting: open command promt and navigate to oidc-implicit-javascript folder and type 'npm start' to start web server listening on https://localhost:44307.
Step 4: open your browser then access site https://localhost:44307, select "Authenticate" button
You can shut down the web server manually by pressing Ctrl-C.