How to issue a certificate, authorize it and import the private Key to Azure Managed HSM
Identify now supports the Managed HSM Key mode when setting up use of Azure Key Vault. It means that you can configure a Managed HSM Key along with a public certificate for Identify to do its cryptographic operations.
This document will guide you on how to prepare a certificate, import a private key to a Managed HSM, and use it for Identify.
Generate a certificate
Use the Azure Key Vault to generate a certificate with your chosen type of CA:
- "Certificate issued by a non-integrated CA": you can choose this type and generate a CSR to order the authorized certificate from any CA.
- "Certificate issued by an integrated CA": use integrated, built-in CA to authorize the certificate.
- "Self-signed": or just use a self-signed certificate.
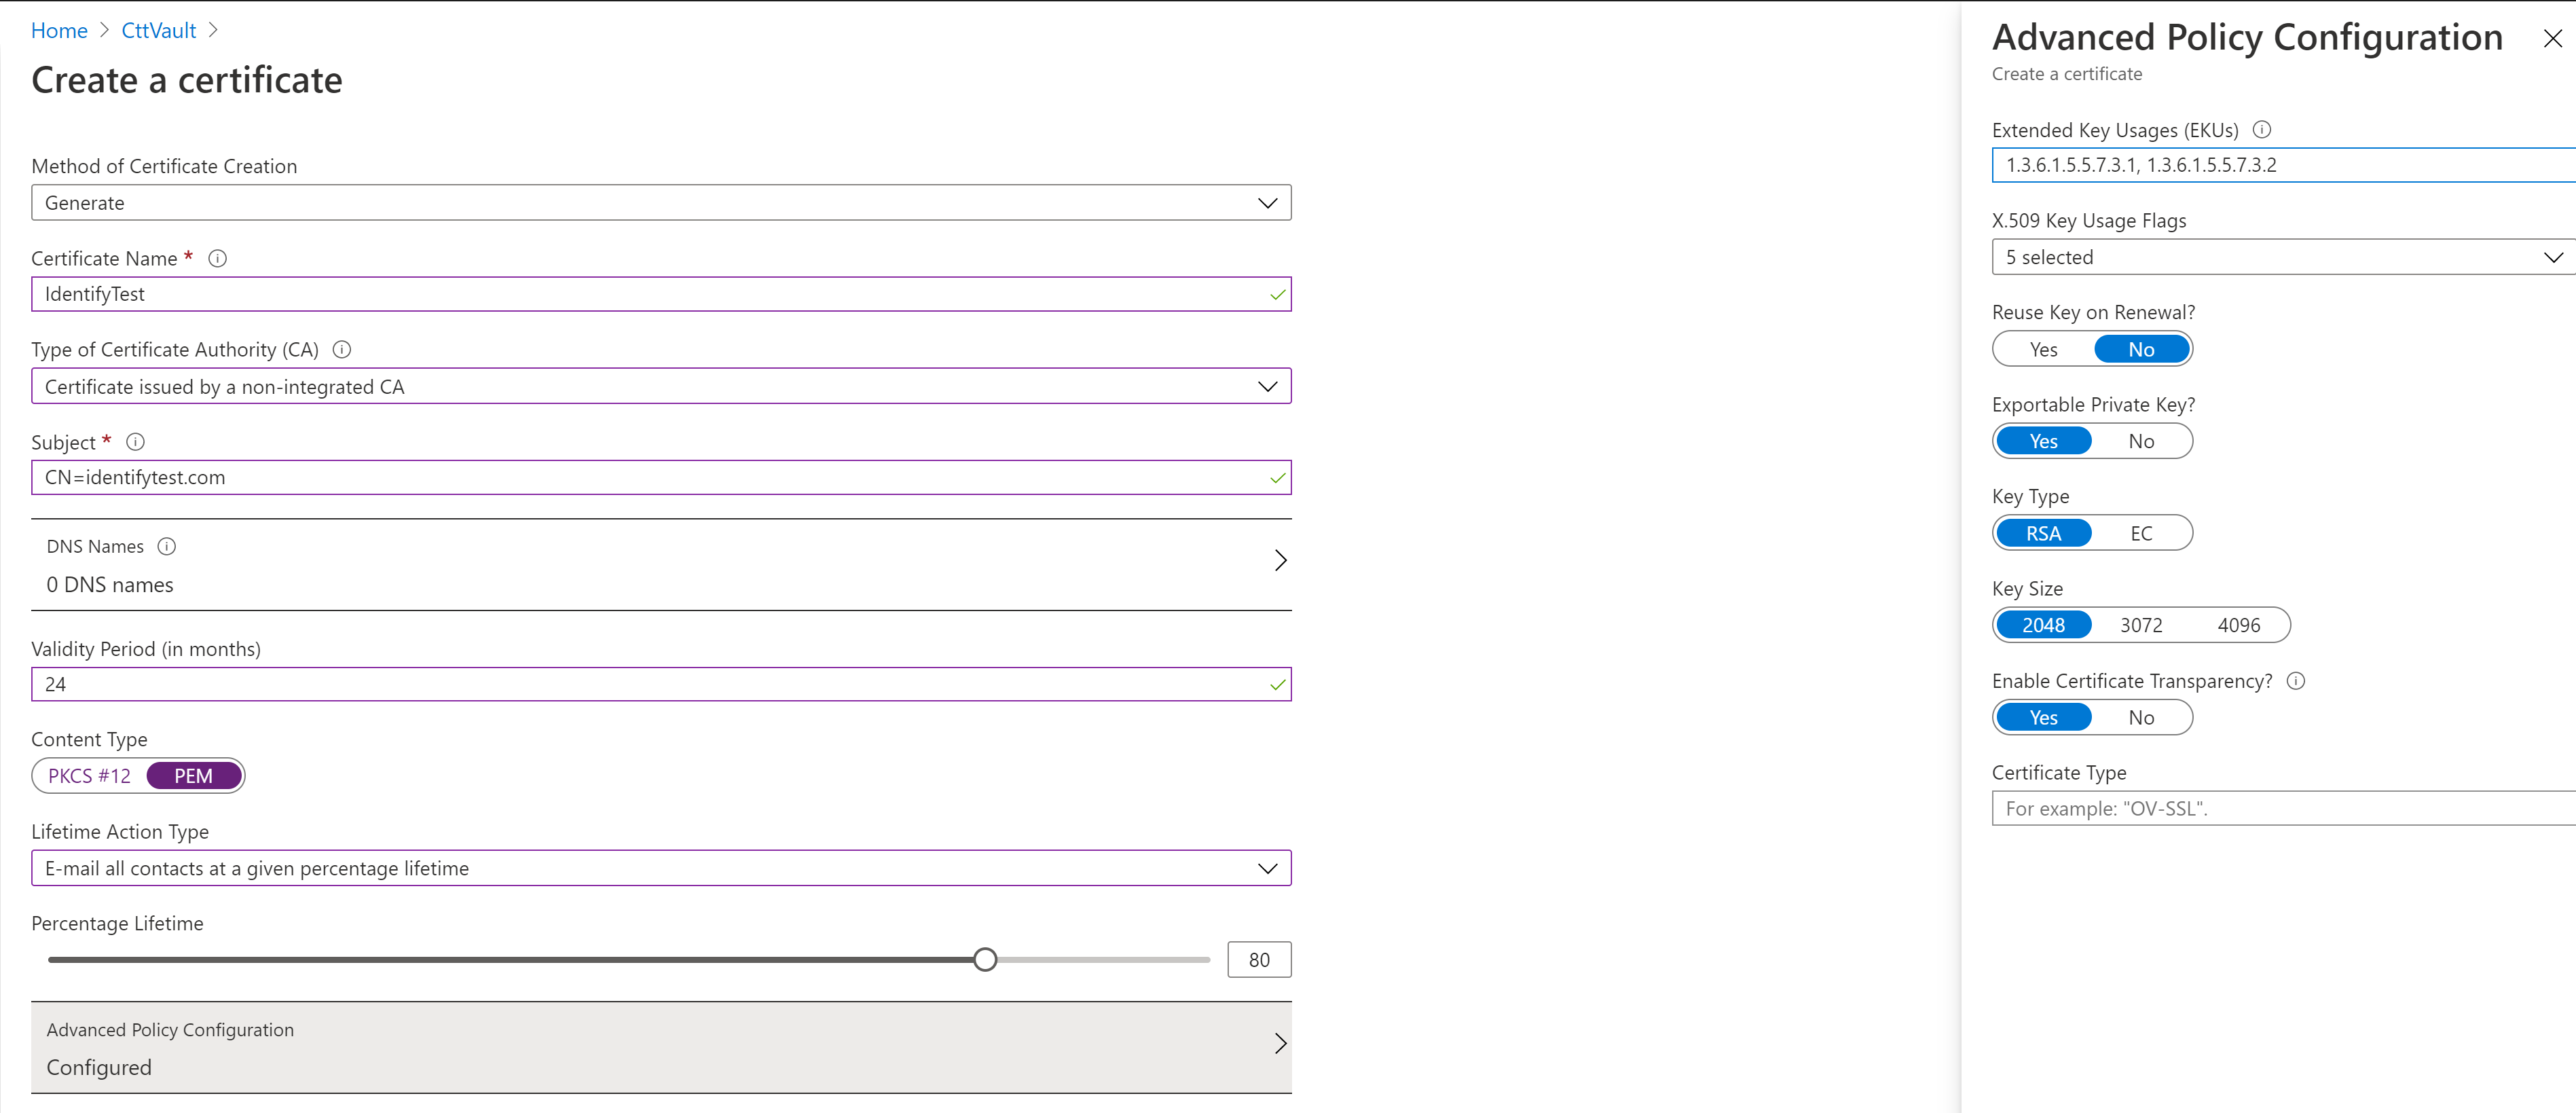
Remember to set the "Advanced Policy Configuration" so that the certificate key can be used for both signing and encryption operations. If the purpose is to import the certificate to Azure Managed HSM, you must enable the "Exportable Private Key" option as well.
If you already have a certificate in Azure and choose the "Certificate issued by a non-integrated CA" option, you will need to generate a CSR during the next step and send it to your chosen CA. Otherwise, you can download the PFX/PEM in order to import the private Key to a Managed HSM.
You also can use any other tool to generate your needed certificate - including a private key - to be imported into the Managed HSM.
Generate a CSR
If you open your created certificate, you will see an option to download the CSR:
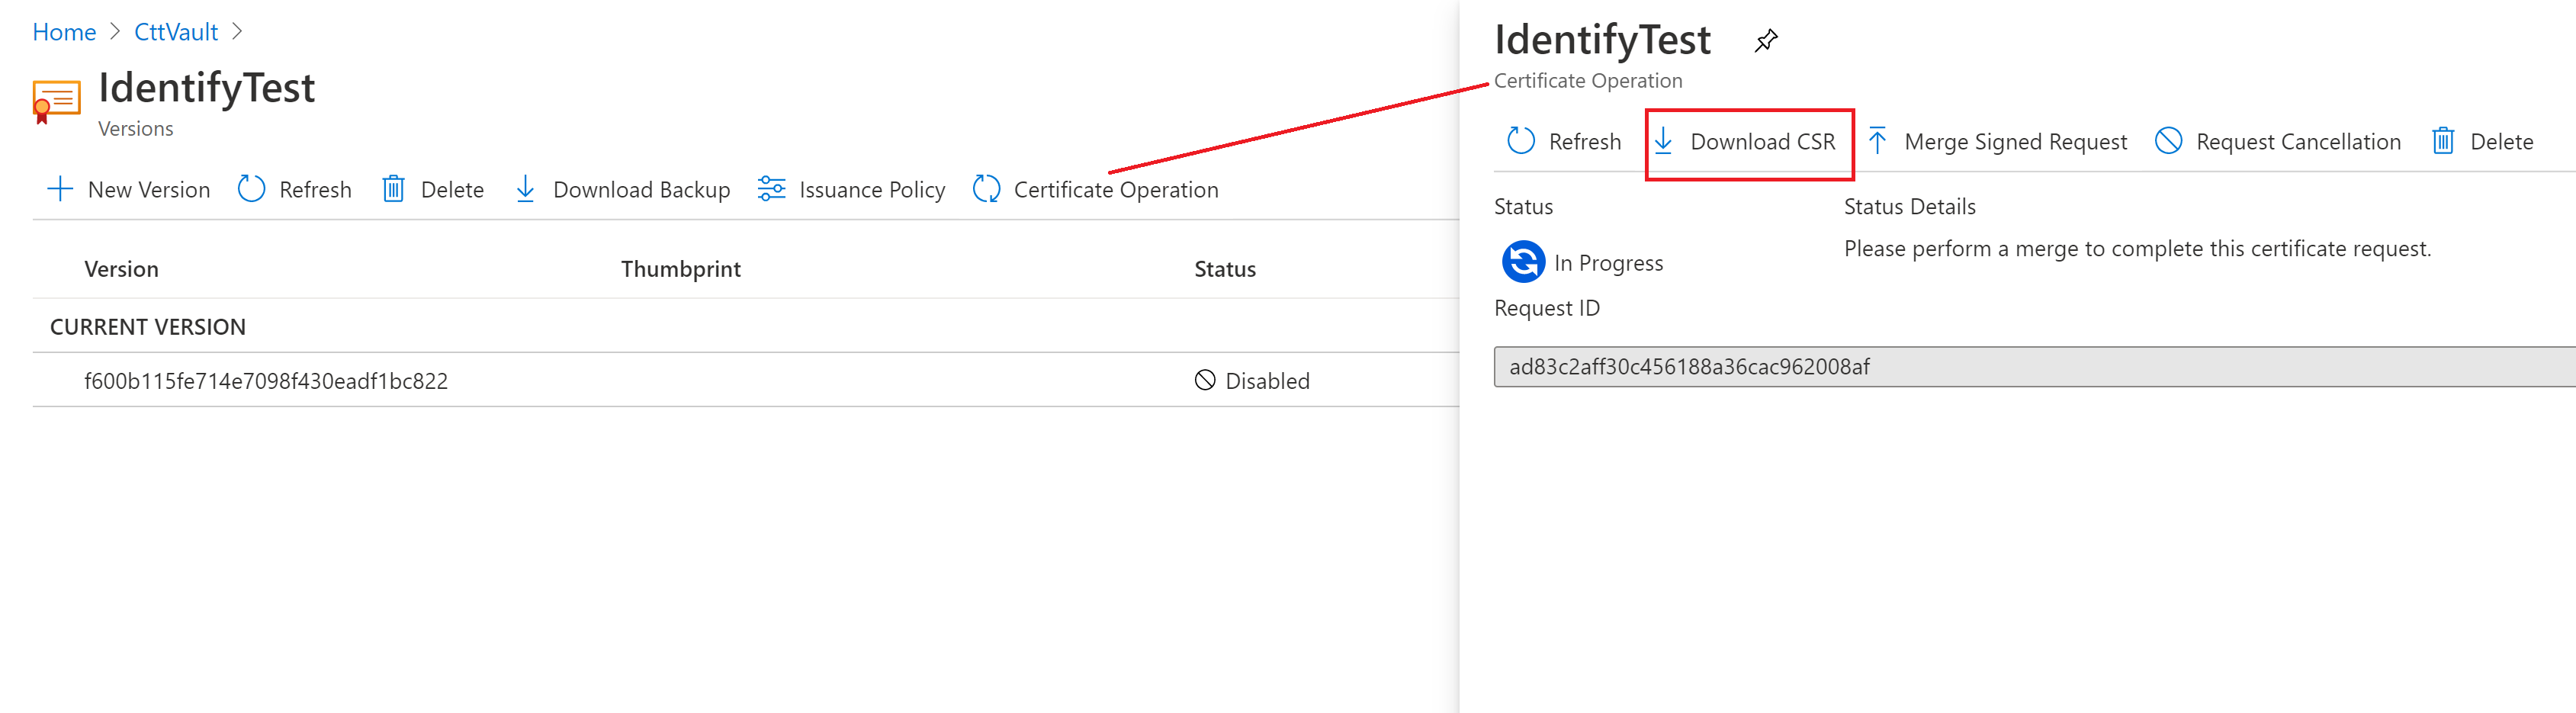
Click the "Download CSR" button to download your CSR file. The file content will look like this:
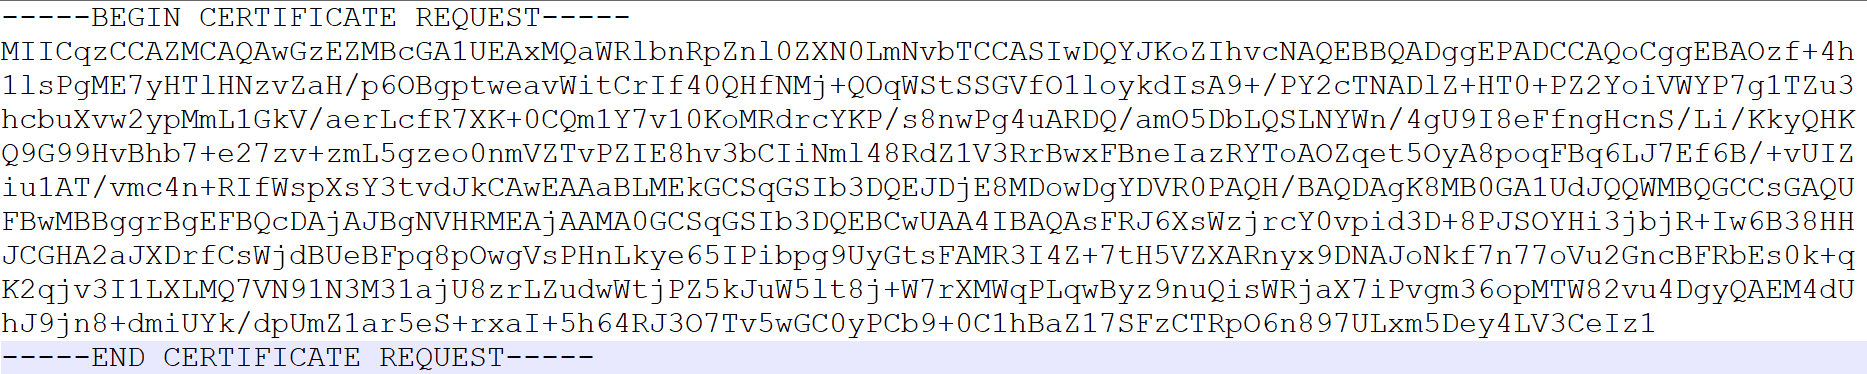
Now you can use this request to order an authorized signed certificate at any CA provider.
Import an authorized certificate
After receiving a result from CA, you will have a signed public certificate/key (the .cer file) and the .pem file - a signed request. You will merge the pem file to your certificate in your Azure Key Vault:
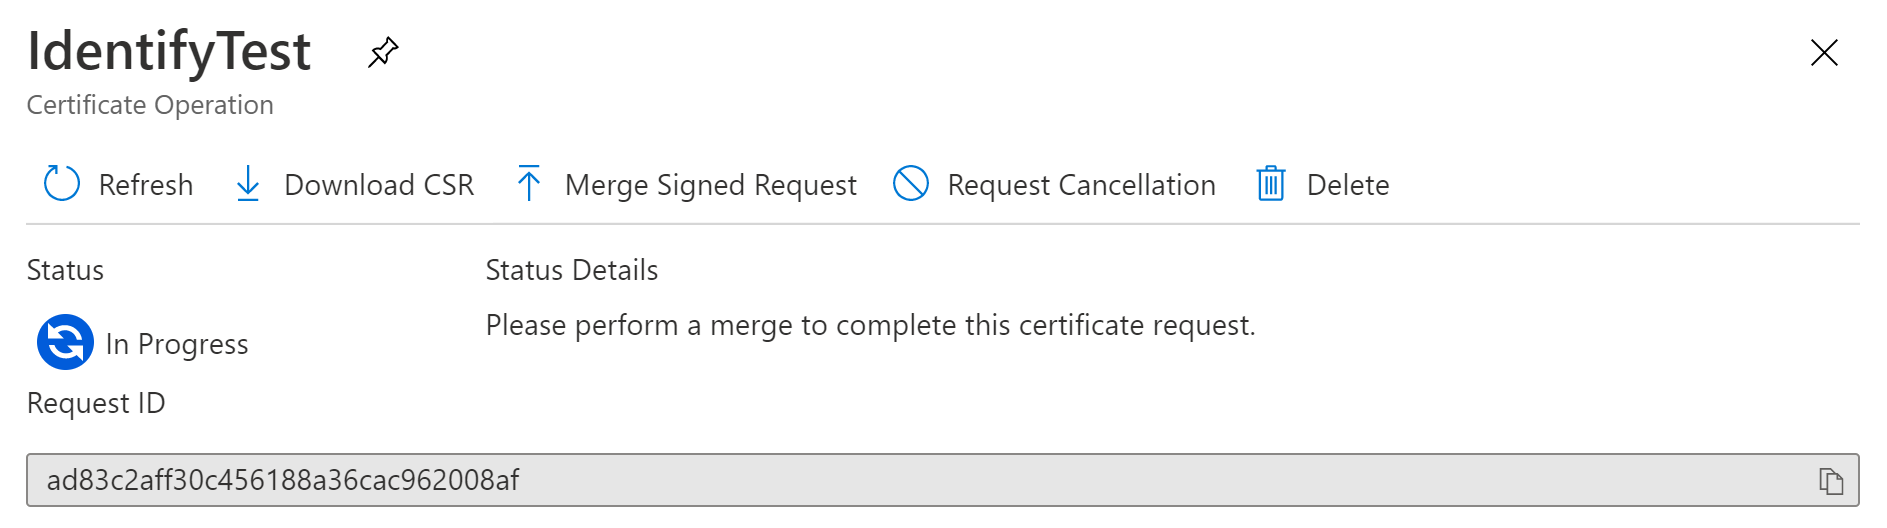
Click "Merge Signed Request" to upload the .pem file. The result will look like this:
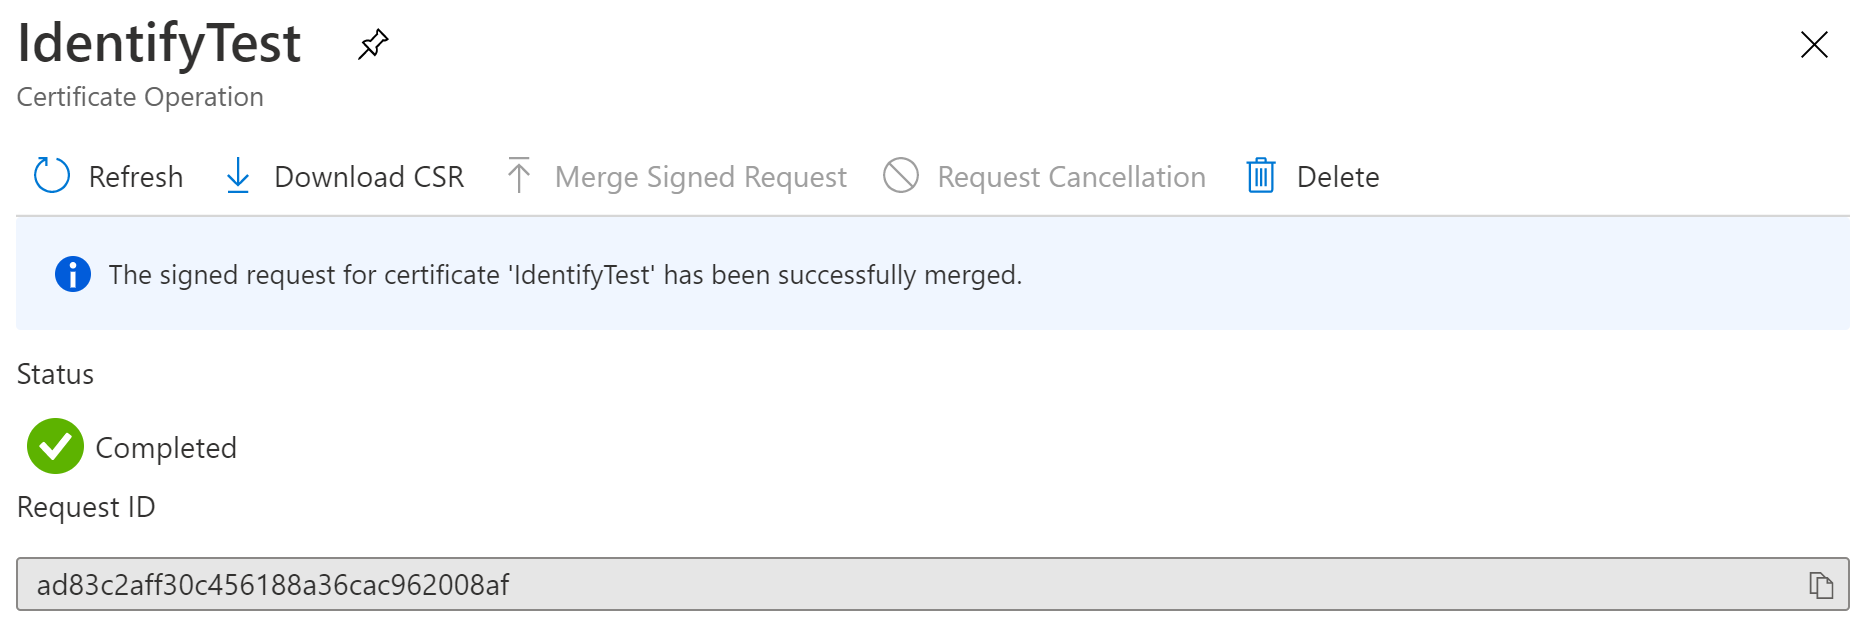
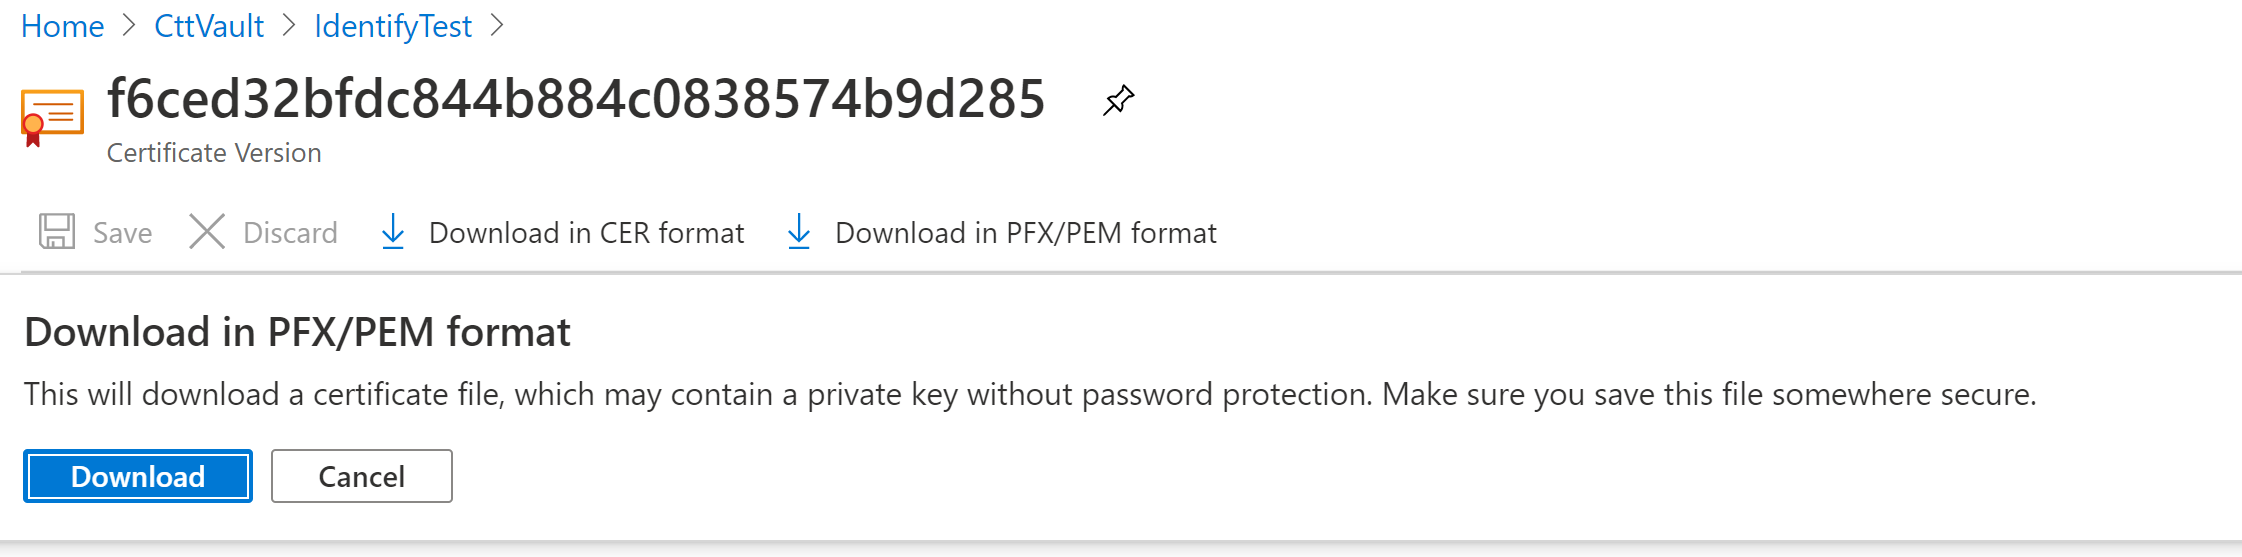
As a result, you have an authorized certificate in Azure Key Vault. You can download the PFX/PEM from here to import the private Key to a Managed HSM.
Import private Key to Azure Managed HSM
Before importing the private key to an Azure Manage HSM, you need to provision and activate a Managed HSM. When you have a ready-to-use Managed HSM, follow these steps to Import the private key from your certificate.
- Use import command to import the private Key to Managed HSM
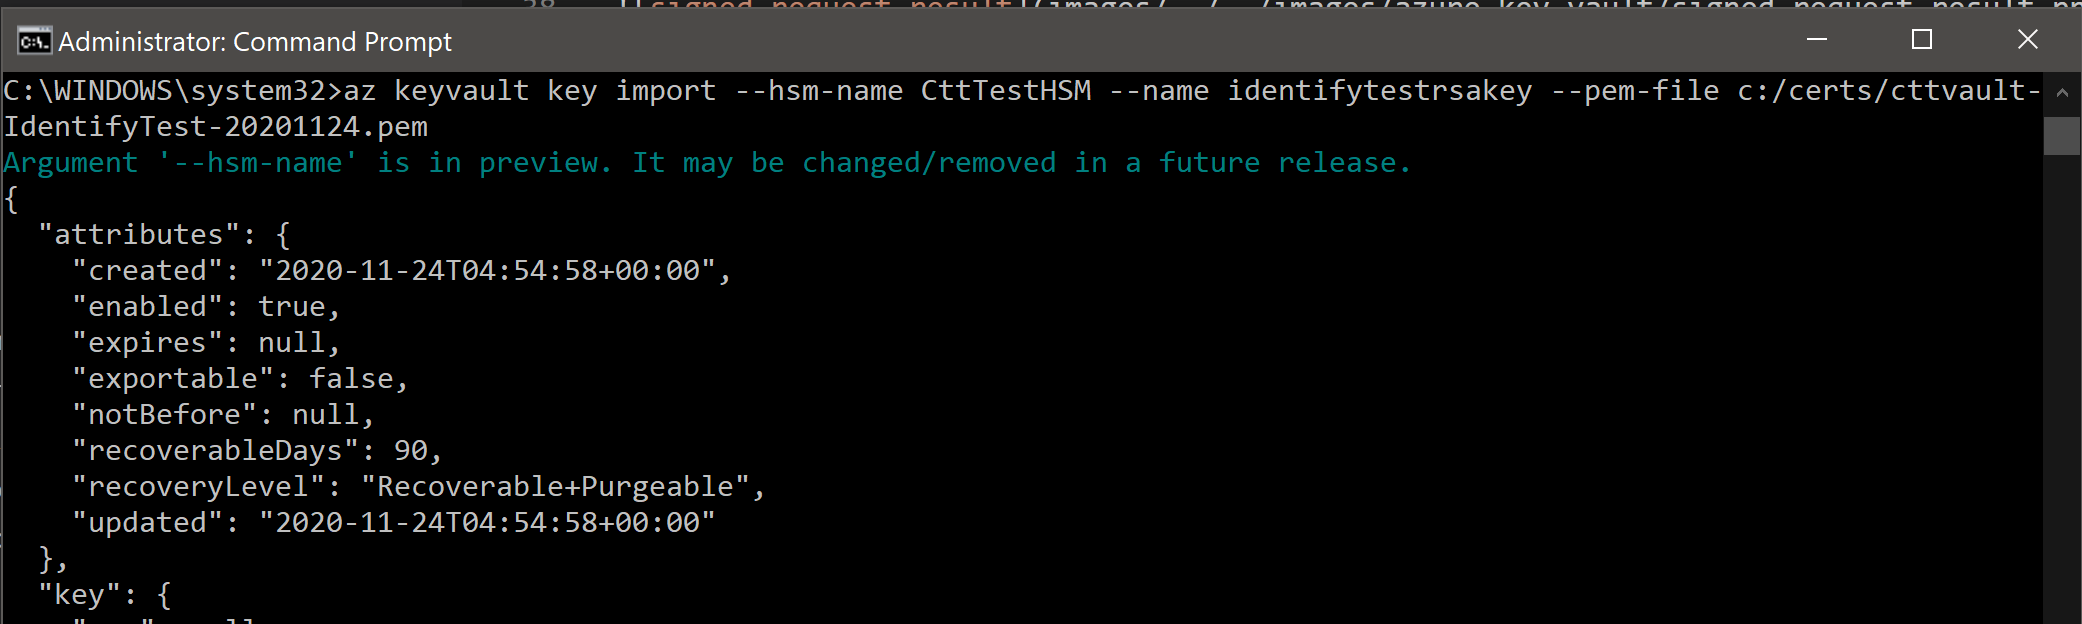
The above command imports the private key from your created certificate to the Managed HSM named 'CttTestHSM'.
- Assign the role for target service principal
To use the Key for Identify, you need to add a role for an application service principal:
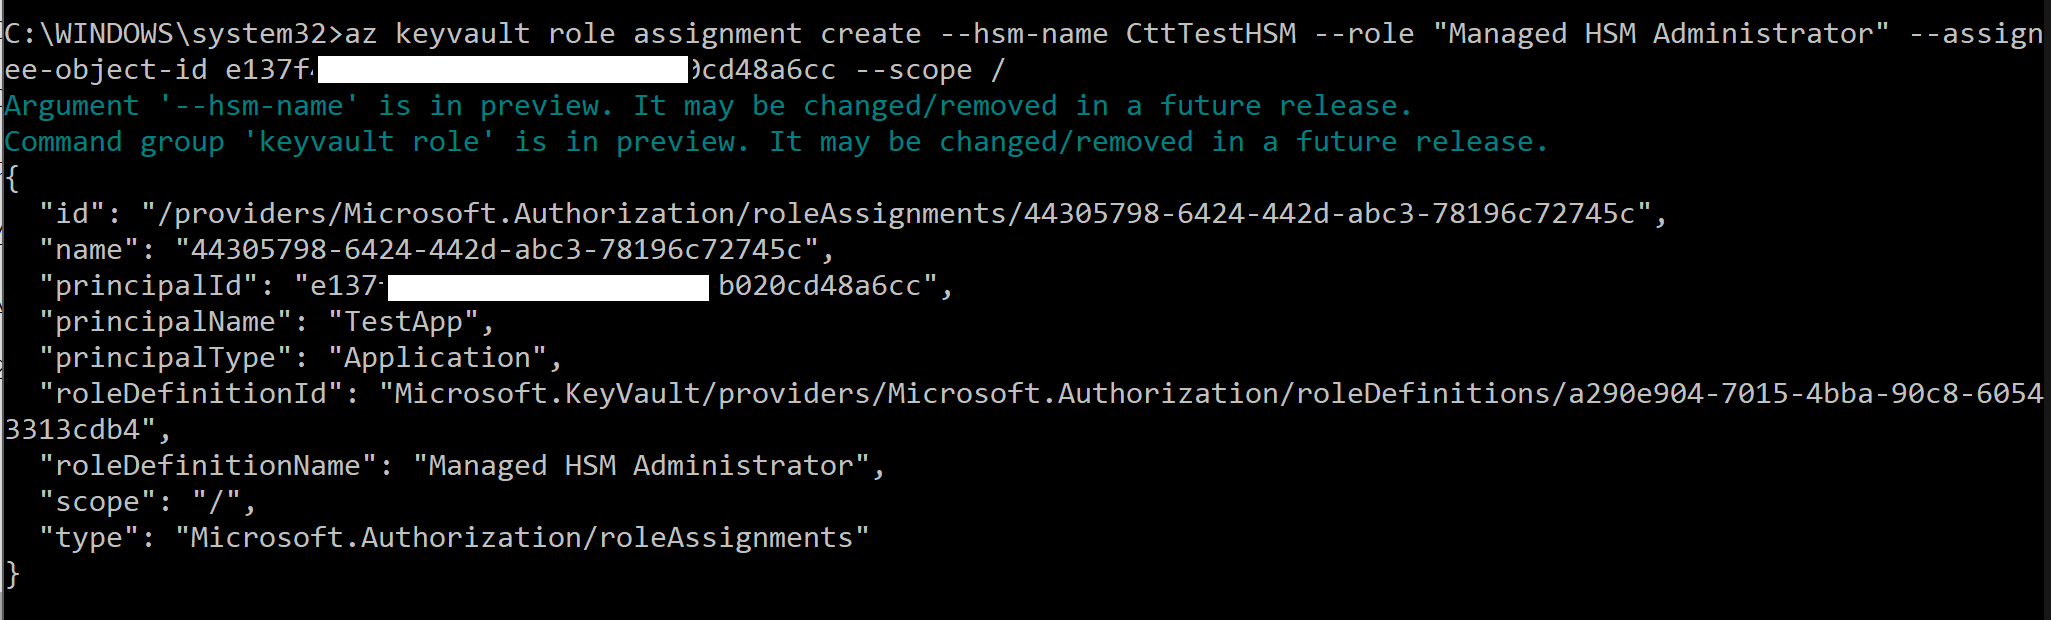
Above is an example, where you assign the "Managed HSM Administrator" role for the "-assignee-object-id" (the Object ID of an Application used as a service principal for authentication) to the Managed HSM 'CttTestHSM'.
Use az keyvault role definition list command to list all the role definitions or reference this list of built-in roles
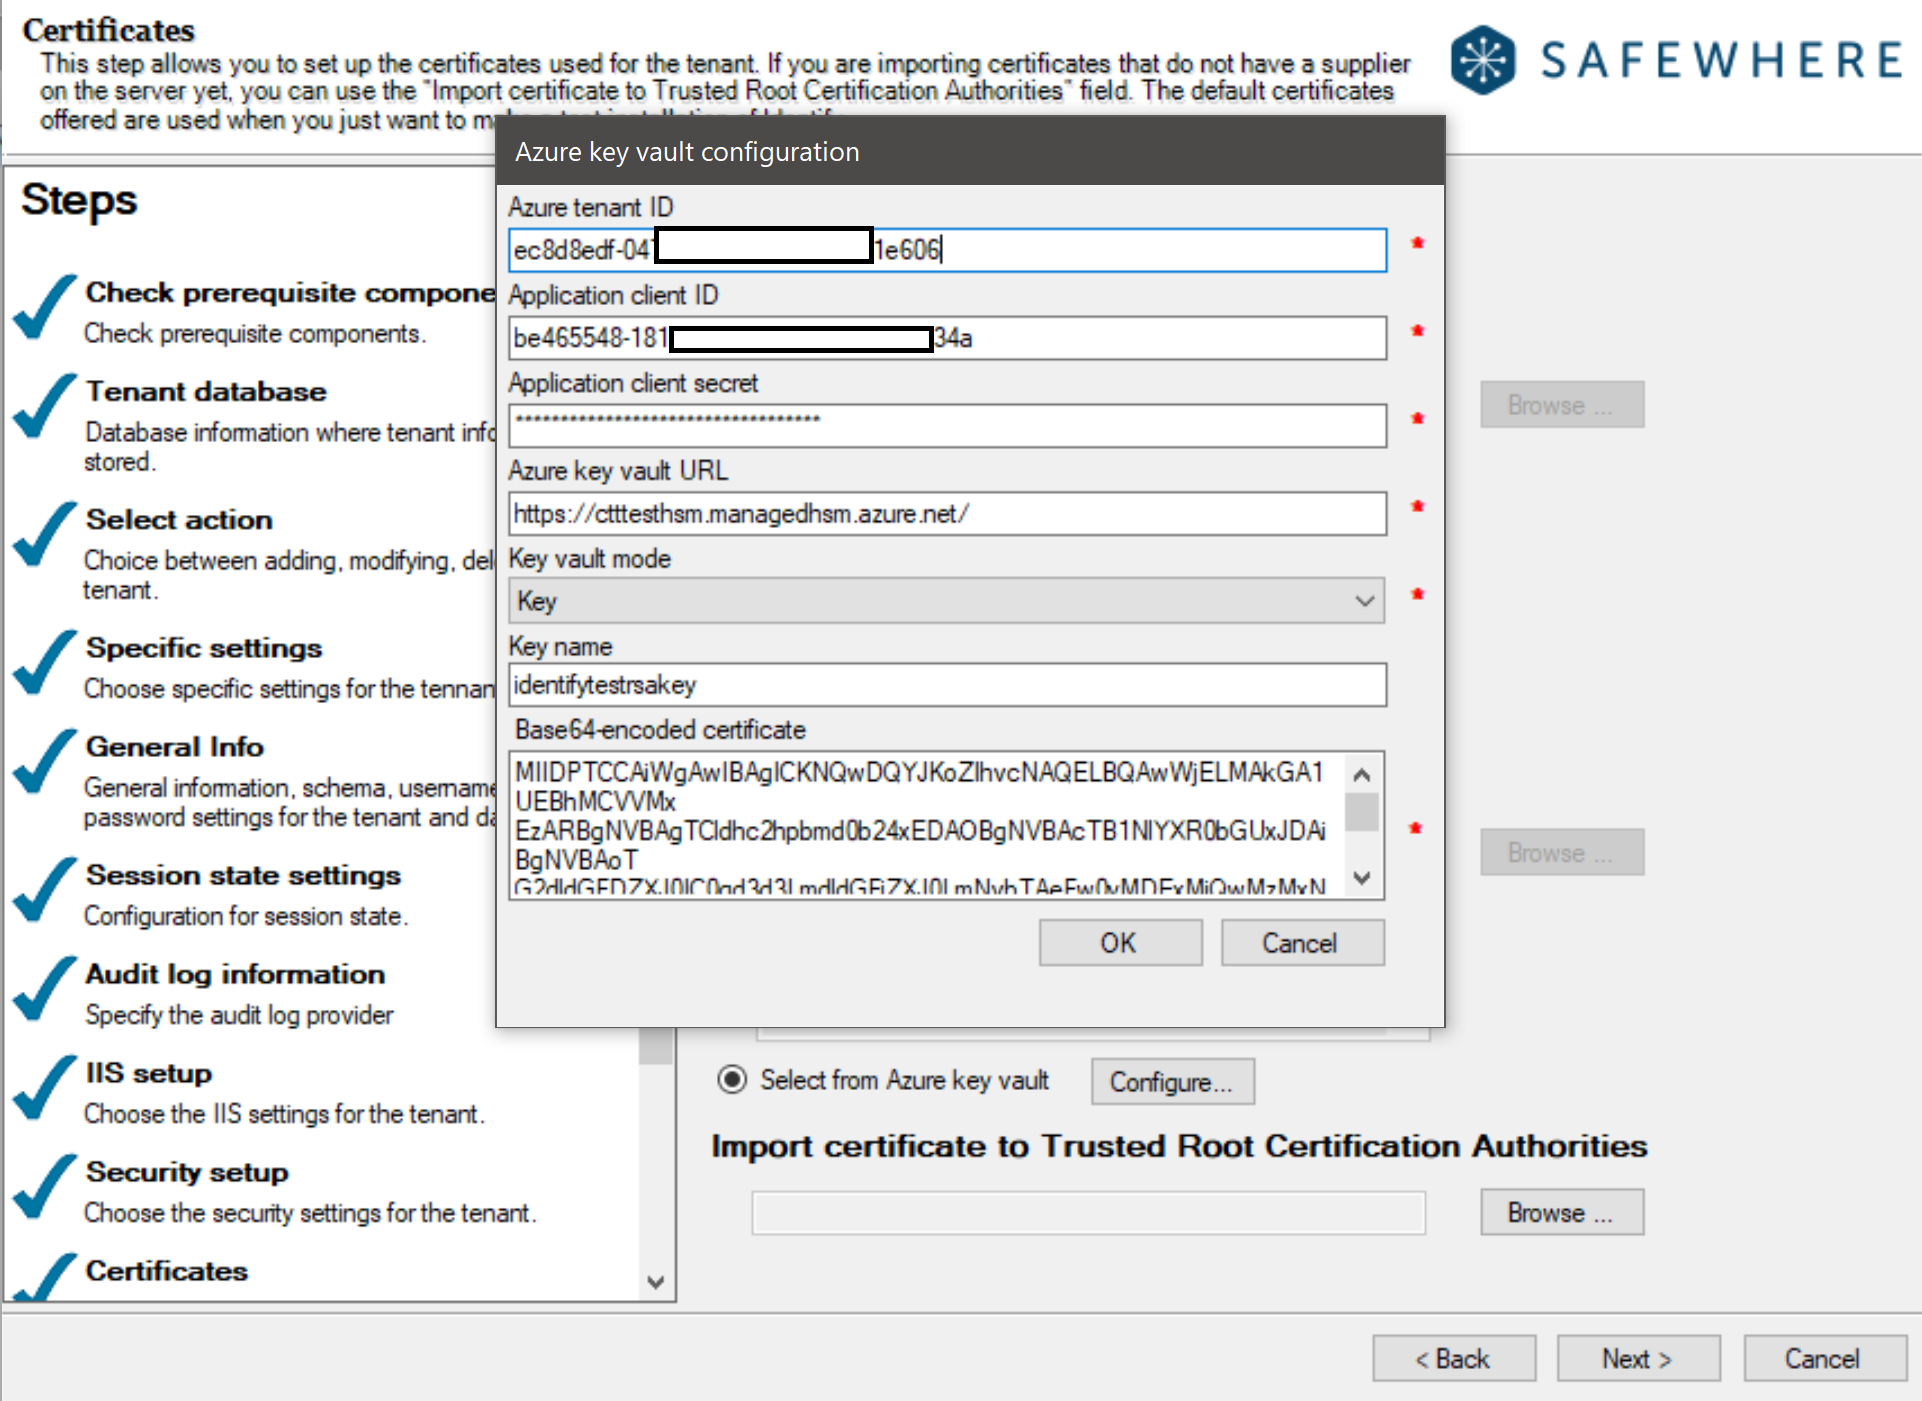
Use the Key for Identify
Now that you have a private Key in a Managed HSM, you can use it for Identify in the tenant creation flow, for example: