How to manually roll-back an Identify installation
Introduction
You have upgraded an Identify instance to a newer version but somehow it does not work correctly for your setup and you now want to roll it back to the previous version. Unfortunately, you do not have a full backup of the Identify servers in addition to the databases that would allow you to just do a restore of the environment to the previous version.
This documentation is based on a down-grade of an Identify instance named idpsafewhere from version 5.9 to version 5.6.
Prerequisites
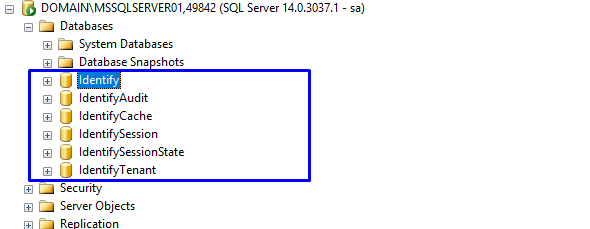
You have a copy or a backup of all of Identify’s SQL Server databases (Identify, IdentifyAudit, IdentifyCache, IdentifySession, IdentifySessionState, IdentifyTenant) from before the upgrade to version 5.9 was performed.
How to do
Step 1: Stop IIS
Access your Identify web server, stop IIS.
Note: if you have a setup that is composed of multiple Identify servers (e.g. a redundant setup), you need to perform this step on all your web servers.
Step 2: Perform a full backup of Identify’s databases
Before performing a downgrade, we recommend that you make a full backup of your existing installation.
So you need to access your SQL database server and do a full backup of all of Identify’s databases (Identify, IdentifyAudit, IdentifyCache, IdentifySession, IdentifySessionState, IdentifyTenant).

Step 3: Back up your current Identify website
Before performing a downgrade, we recommend that you make a full backup of your existing installation.
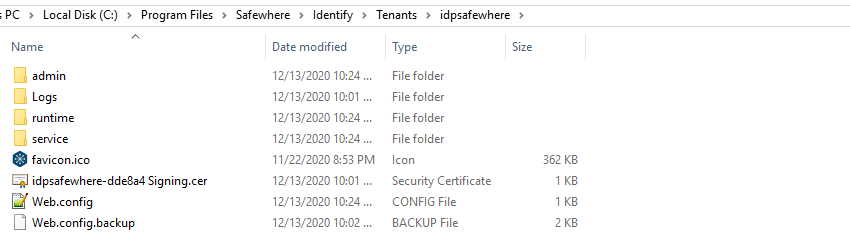
By default, the Identify site is located in "C:\Program Files\Safewhere\Identify\Tenants".
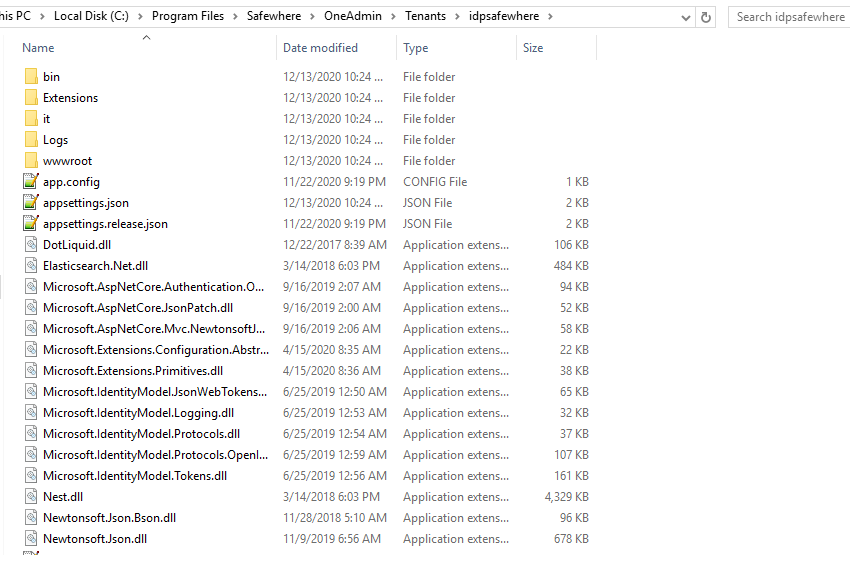
If you have the new Safewhere Admin interface deployed (which is deployed by default from version 5.9), it is located in "C:\Program Files\Safewhere\OneAdmin\Tenants". Because the new Admin interface is optional in previous versions, your installation may not have it deployed. In that case, you can skip all steps related to it.
Thus, you need to carry out the first and possibly both steps:
Access "C:\Program Files\Safewhere\Identify\Tenants\idpsafewhere" and back up its content.
Access "C:\Program Files\Safewhere\OneAdmin\Tenants\idpsafewhere" and back up its content.
Note: if you use redundant setup, you need to perform this step for all your web servers.
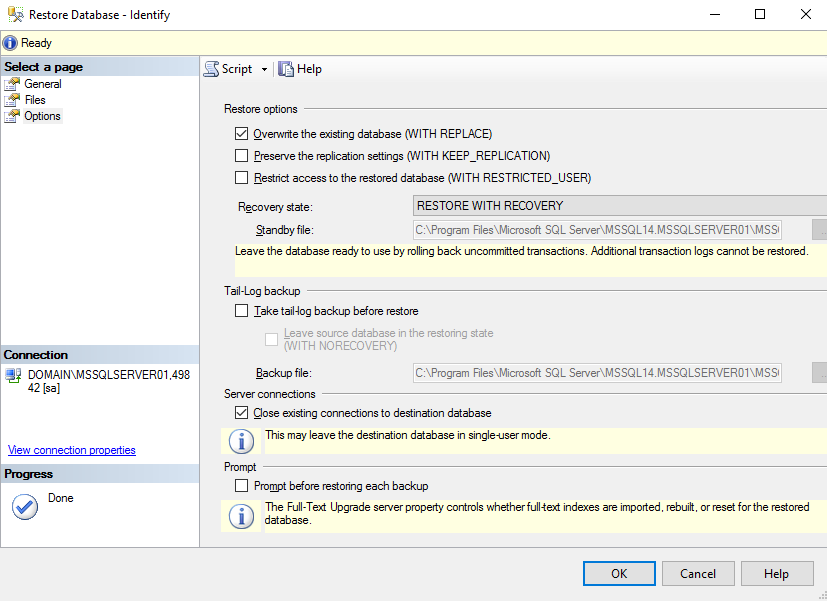
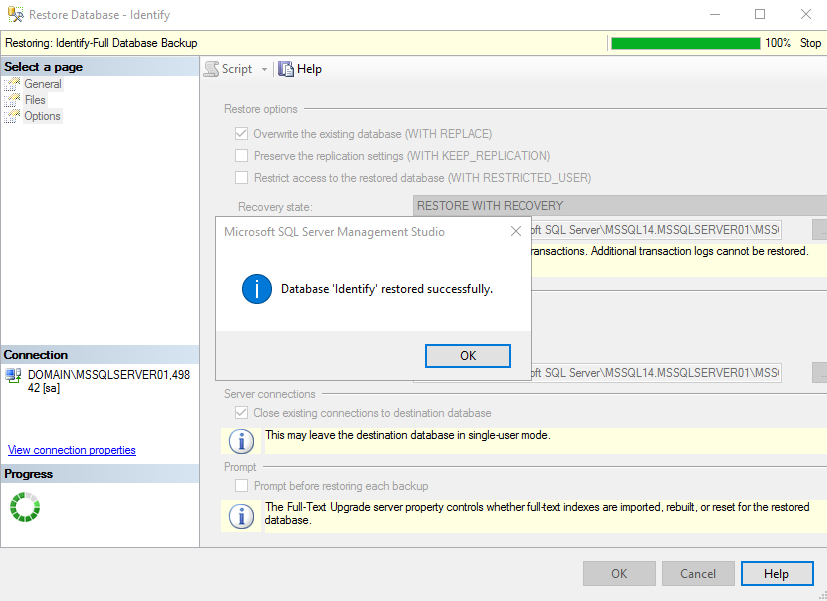
Step 4: Restore all Identify databases to the previous version
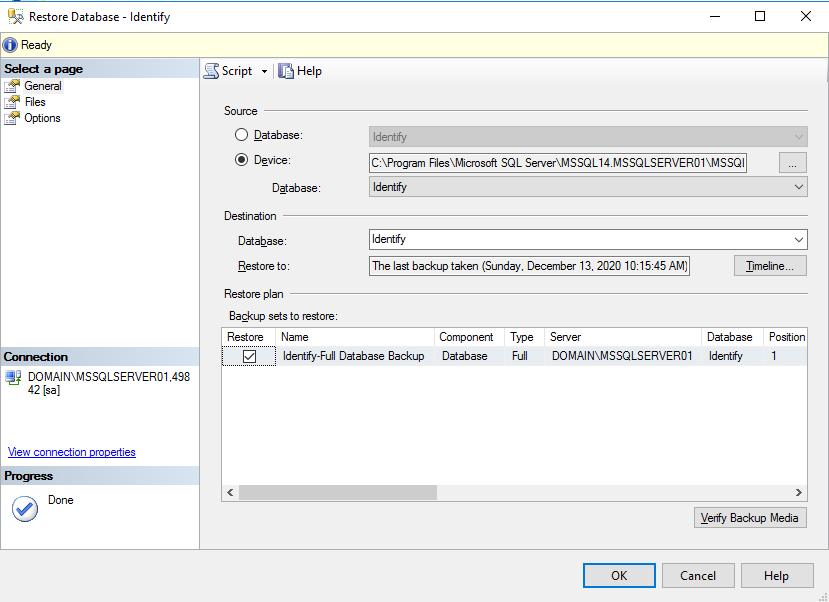
Access SQL server database and restore all Identify databases to the version from before the upgrade to 5.9 was carried out. You need to restore all Identify databases (Identify, IdentifyAudit, IdentifyCache, IdentifySession, IdentifySessionState, IdentifyTenant). One way to do that is described next (the restore option must be "Overwrite the existing database"):
Step 5: Restore the Identify website
When you upgraded your tenant to a new version, Identify Configurator created a zip file that contains sources of the old version(s).
By default, the Identify website backup file is located in "C:\Program Files\Safewhere\Identify\Tenants":

By default, the backup of the Safewhere Admin backup file is located in "C:\Program Files\Safewhere\OneAdmin\Tenants":

In this case, you should do as follows:
Access "C:\Program Files\Safewhere\Identify\Tenants" and find the correct backup file.
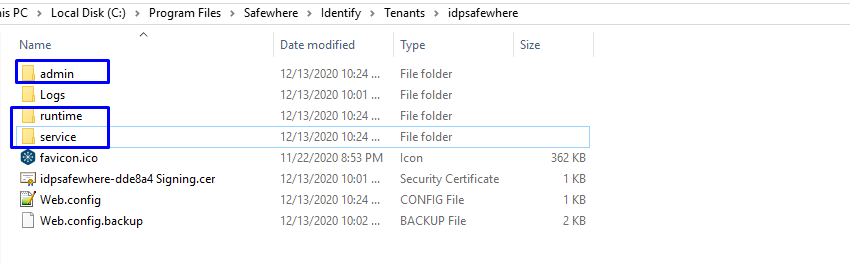
Access "C:\Program Files\Safewhere\Identify\Tenants\idpsafewhere" and delete the 3 folders inside: admin/runtime/service
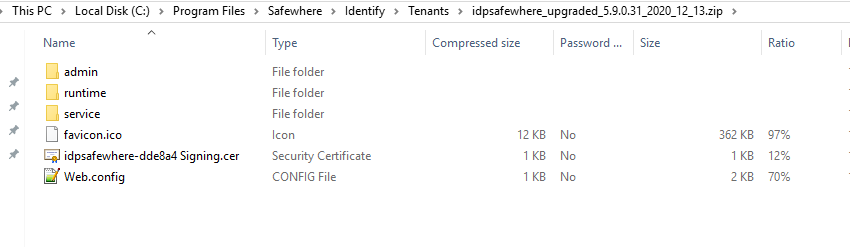
Open the backup zip file and copy the 3 folders you must deleted from the zip to "C:\Program Files\Safewhere\Identify\Tenants\idpsafewhere".
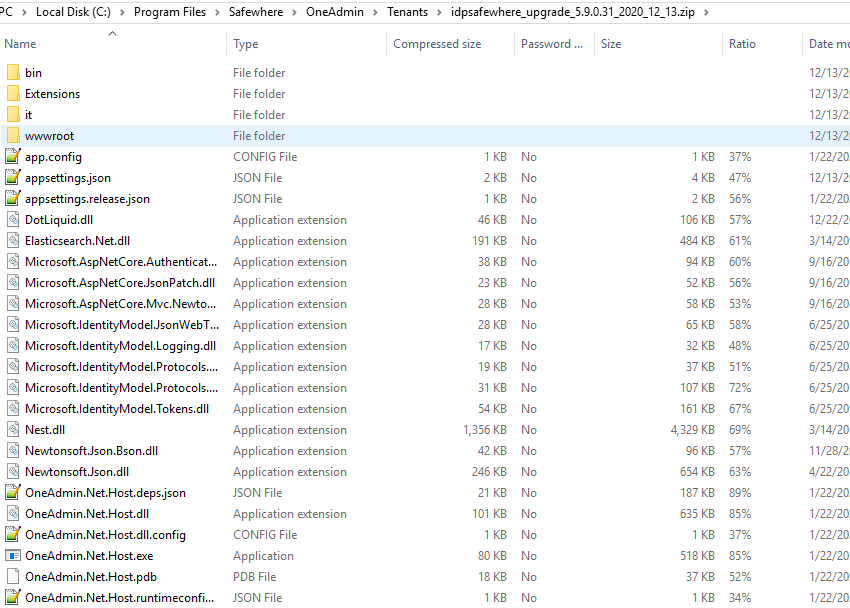
Access "C:\Program Files\Safewhere\OneAdmin\Tenants" and find the correct zip file.
Access "C:\Program Files\Safewhere\Identify\OneAdmin\Tenants\idpsafewhere" and delete everything inside except the Logs folder.

Open the backup zip file and copy the entire content of it to "C:\Program Files\Safewhere\OneAdmin \Tenants\idpsafewhere"
Note: if you use the redundant setup, you need to perform this step on all your web servers.
Step 6: Start your IIS
You can now start IIS and perform logins to your Service Providers to check if your Identify instance works correctly.
