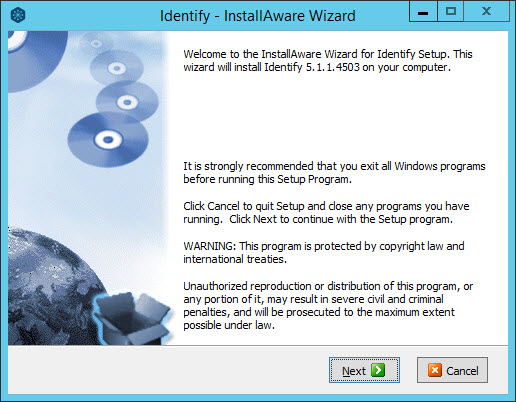
Installation walkthrough
When the installer is launched, it performs a preinstallation check to see if previous versions of Safewhere Identify exist. If a previous version exists, you need to remove it. Once the removal is complete, you can start to install Safewhere Identify.
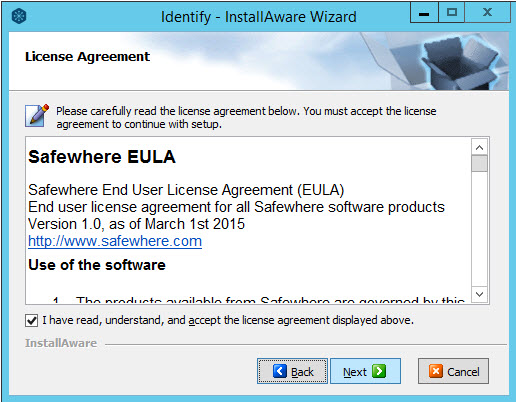
Accept the End User License Agreement (EULA) to proceed further.
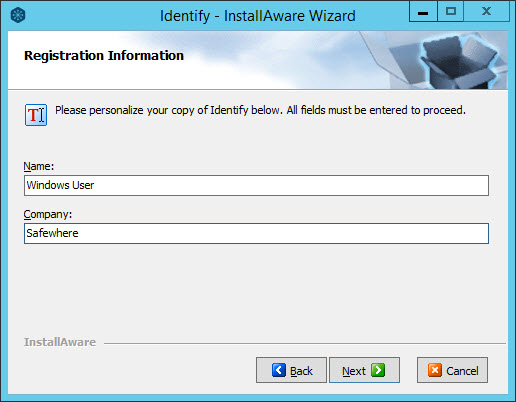
Provide the name of you and your organization.
Select a location for Safewhere Identify on your server.
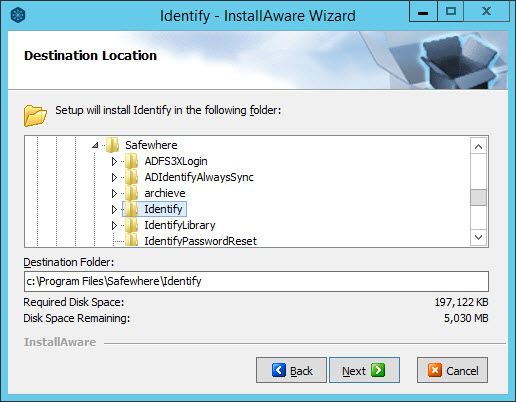
The default location works perfectly for most organizations; keep this unless your company has some specific requirements. The installer prompts you to specify a name for the Start Menu group (the name of the system as presented in the Windows Start menu) as well as decide which users should have access to the Safewhere Identify system.
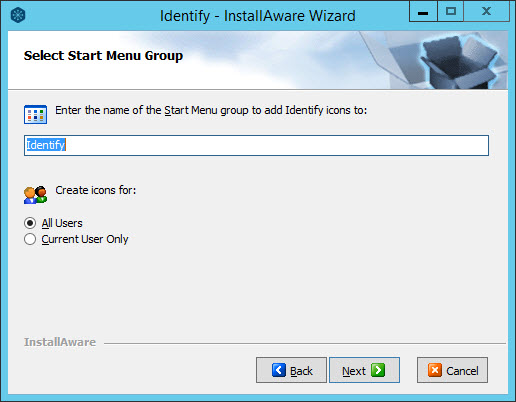
Click Next to finalize the installation.
Finish.