Deploy Safewhere Admin for existing Identify instances
Introduction
If you have a Safewhere Identify instance that didn't have the Safewhere Admin before and now you want it, Configurator's Reconfigure is the functionality that you need. The new reconfiguring feature is supported from version 5.4 which is released on 21 st Dec 2018.
If you use Identify Configurator to create or upgrade an existing Identify instance to version 5.9, the Safewhere Admin will be automatically deployed and this topic becomes unnecessary, you do not need to read the below instruction anymore.
Preparation
- You need to install the latest Identify installer.
- Upgrade your Identify instance to the latest version as usual first.
How to deploy Safewhere Admin
You can open Configurator and select Reconfigure an instance.
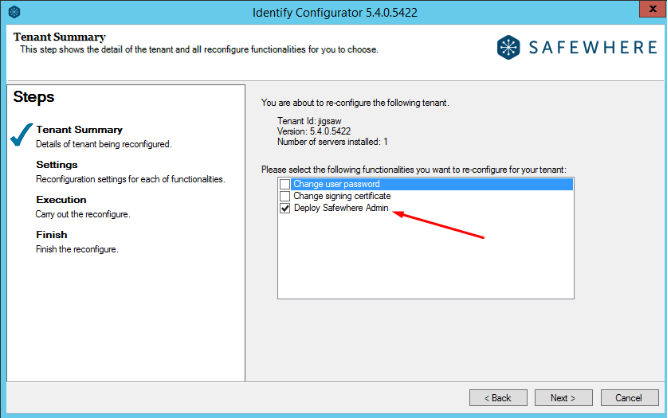
At the Reconfigure step, select Deploy Safewhere Admin and click Next.
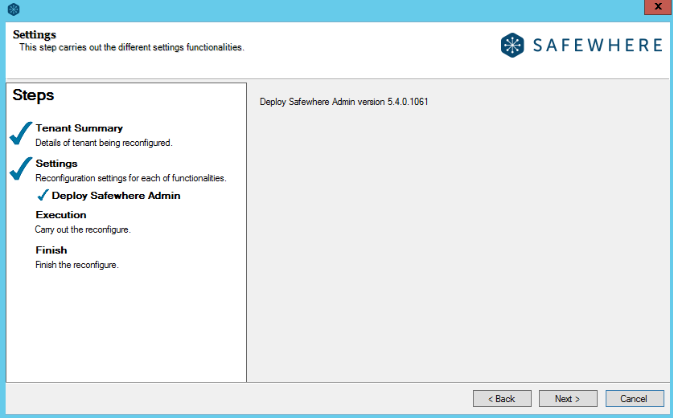
The next step will give you information about the current Safewhere Admin version installed on your machine.
Click Next button to go to the Execution steps.
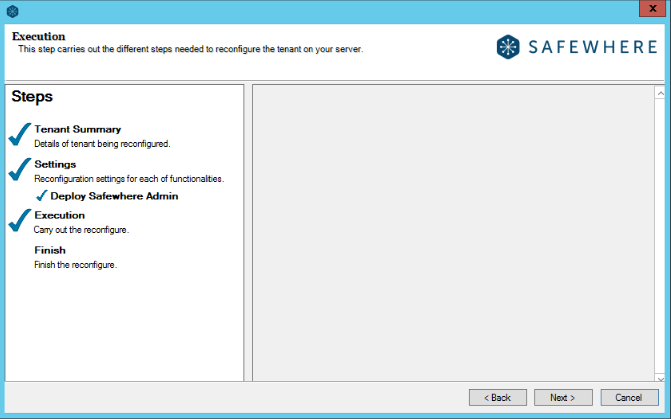
Click Next to start the installation process.
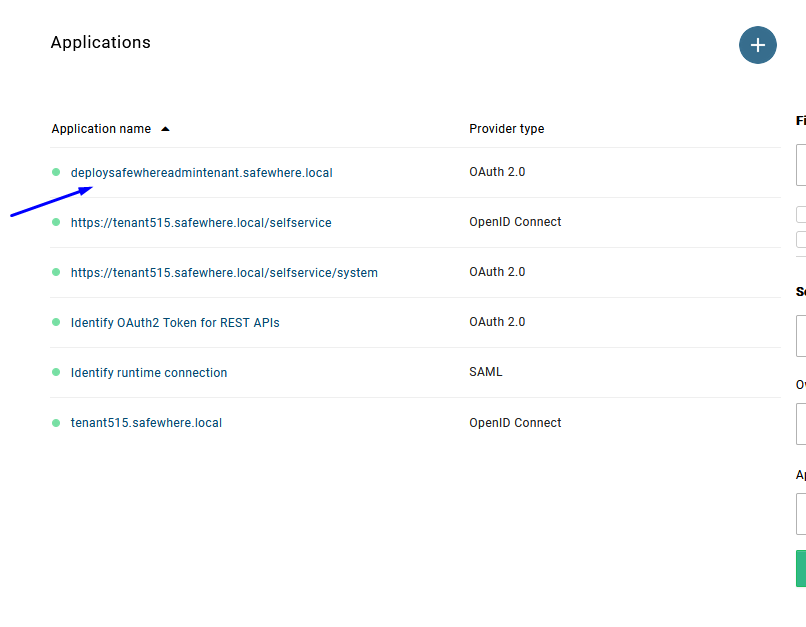
This step will deploy Safewhere Admin for your instance on the current machine. After Safewhere Admin is deployed successfully, you will find that the following resources have been provisioned on your instance:
- An OAuth 2.0 protocol connection is created because Safewhere Admin uses Safewhere Identify's OpenId Connect to do authentication and authorization.
- A free claim
http://schemas.xmlsoap.org/ws/2005/05/identity/claims/nameidentifieris created
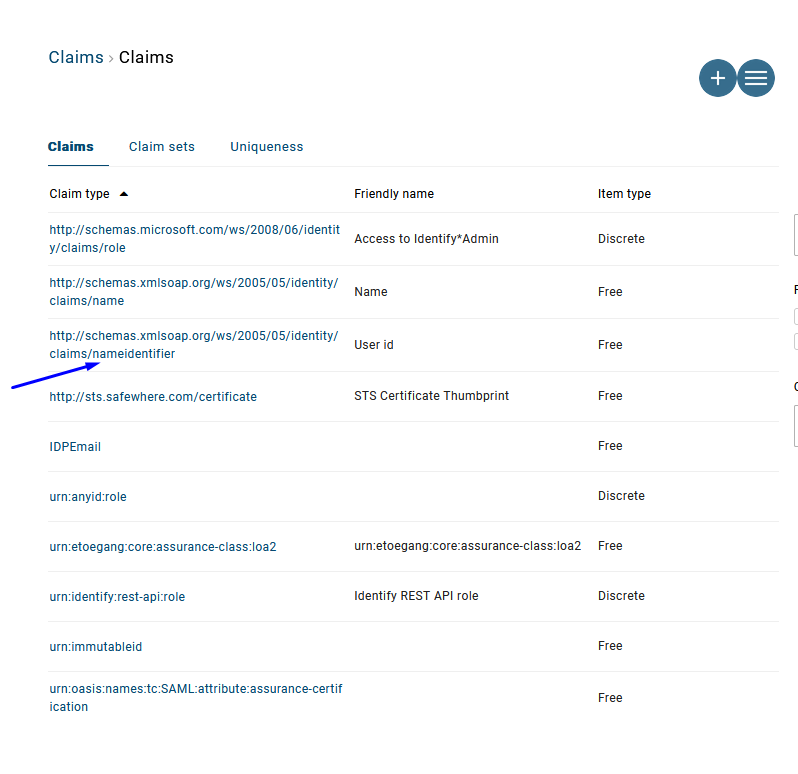
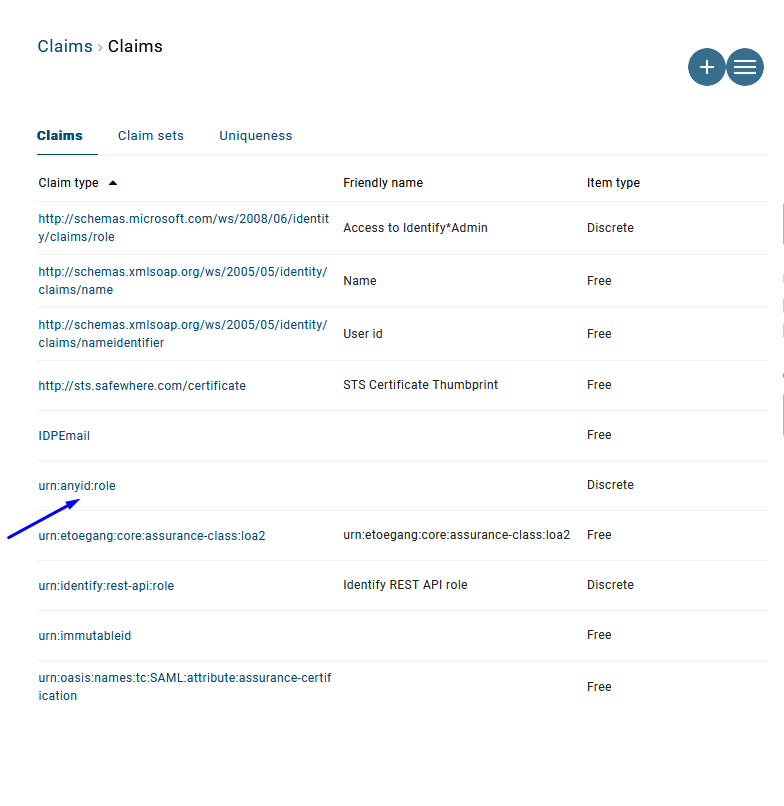
- A discrete claim
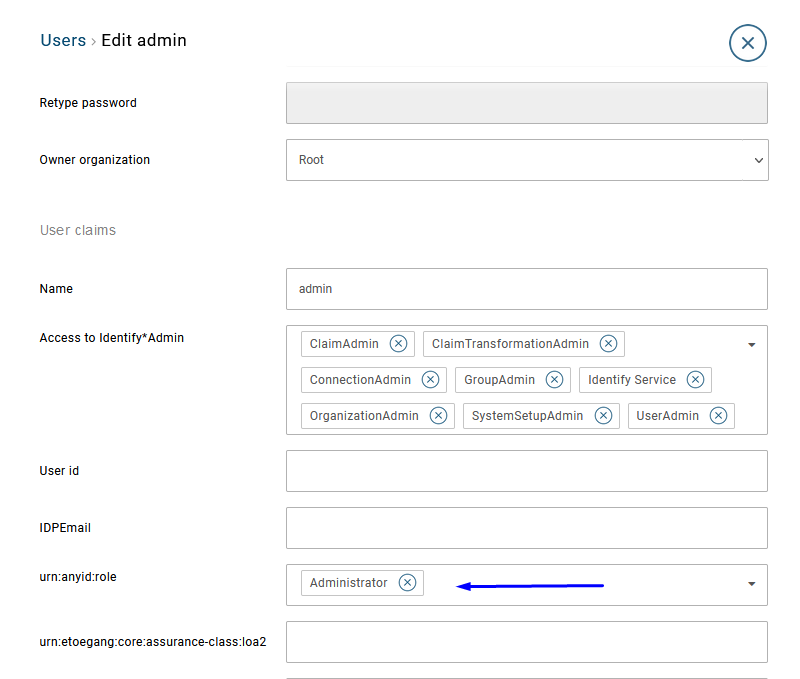
urn:anyid:roleis created. This is the role that Safewhere Admin needs to do authorization.
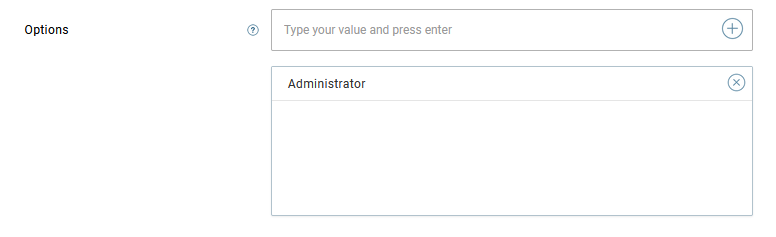
- The default admin user will have that new role assigned.
Replicate to the other node
If you deployed your Safewhere Identify instance in redundant mode, you will need to repeat step 1 on the other server.